There are so many celebration happening in my life right NOW.
Milestone birthdays, births, bat mitzvahs, promotions, new jobs, new homes.
And, well I love celebrating these joys with my friends,
and I love to decorate and create sweet little details for them too.
Recently I was asked to assist in adding some special sparkle to a young girls birthday party. The party was large enough to warrant the need for assigned seating. Now I know some people despise assigned seating at weddings, but really when your party (any party) reaches a certain size, assigned seating is quite helpful for the guests.
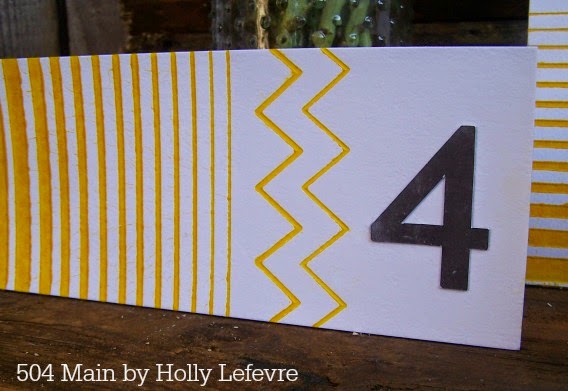
I created these table numbers using my Evolution Die Cutting Tool and Letterpress from Lifestyle Crafts. I use my Evolution all the time for die cutting and love it! But when you see what amazing projects can be created with the Letterpress Platform an Plates you will go ga-ga!
What I really love about these Table Numbers is that they are different...each one has its own personality, but they all coordinate. They also have a slightly modern edge but look amazing paired with a more rustic look like these daisies and rustic wood. I love this look!
- Evolution Die Cutting Tool
- Genius Ultimate Platform System (for die cutting)
- L Letterpress Platform (for Letterpress)
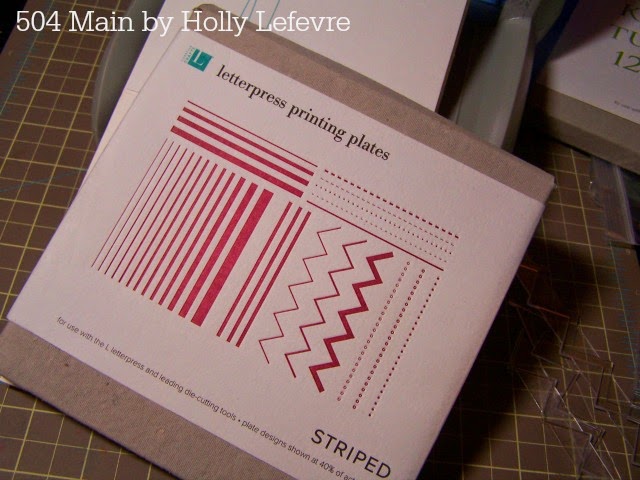
- Stripes Printing Plate
- Yellow Ink
- Ink Kit: Brayer and Ink
- Rosette Die
- Paper: Square Flat Paper and Paper Number 10 flat
- Small 2" x 1" blocks of wood (I u=cut 3", 4" and 7" pieces)
- Chalkstock, We R Memory Keepers
- Glue of choice (I used hot glue)
- Numbers cut from chalkstock or chipboard)
- Optional: embellishments such as buttons or small florwers
Make it!
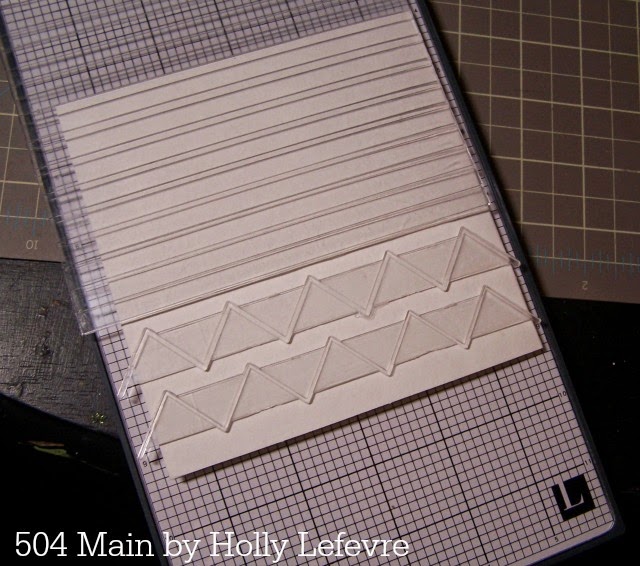
- Determine the design of your letterpress project. I played around with the options in the printing late set until I decided on the stripes and chevron pattern.
- Use the adhesive to secure the design in place on the Letterpress Platform.
- Place you paper guides on the bottom of the Letterpress Platform.
- Position paper.
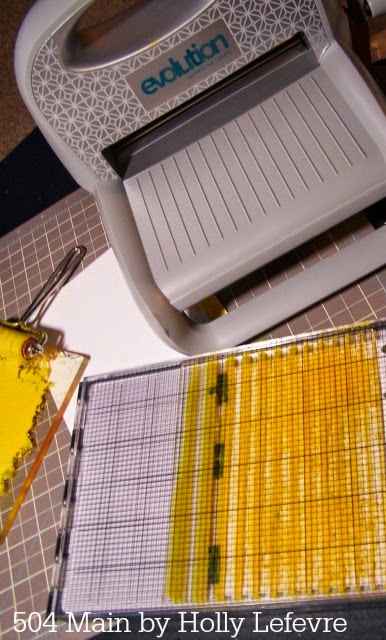
- Work your ink out with the brayer on the ink base.
- Apply the ink to the letterpress plates. Use a light hand. I am very heavy handed in everything I do, and that just gets too much ink on the plates. Less is more and add if necessary.
- Once inked and the paper is in place, close the platform and run it through the Evolution.
- Remove and let dry.
- By using different size papers I created different looks very easily!
- I used the We R Memory Keepers chalk stock to cut simple numbers out
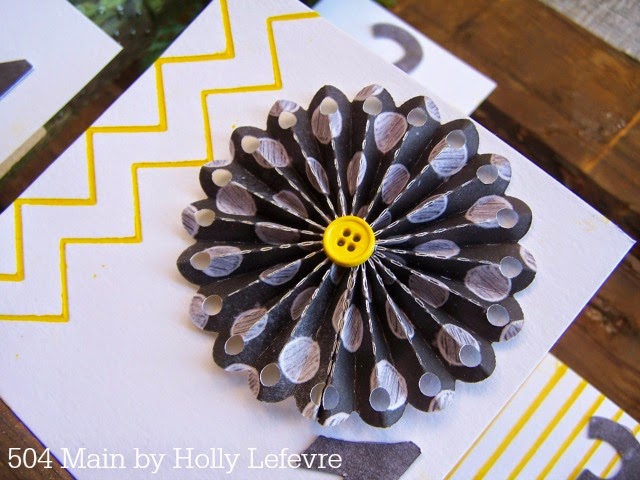
- I also added the rosette, cut from polka dot chalkstock, topped with a simple yellow button.
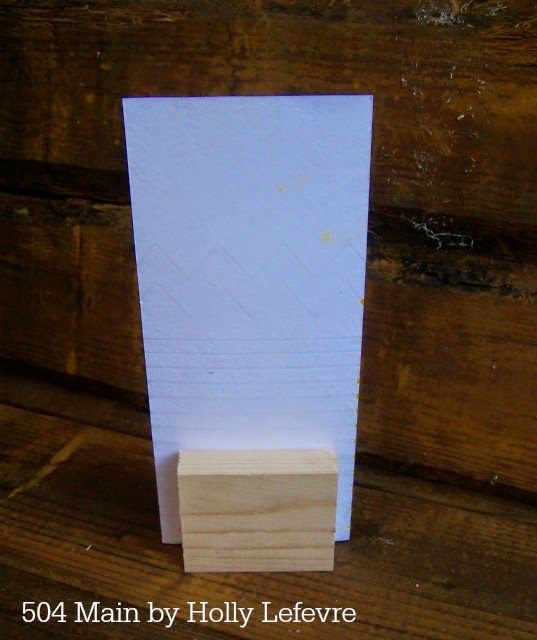
- Once all the ink was dry and numbers glued down, I hot glued small blocks of 1"x2" wood to the bottom backs of the card to help them stand.
Now, just flip them vertical, horizontal and embellish to fit your style.
It is so easy to have a set of unique table numbers for your special event.
Don't you just love the versatility of the Evolution!?!
Grab your own or other amazing products from
Use the code 504MAIN at checkout for 20% off!
Look at those gorgeous letterpress lines!
Now the real question is when is your next big party?







so cute :) yellow is pretty!
ReplyDeleteVery creative with the die cutter work. The Mrs. friend has one and she has been impressed at how versatile it is for such projects.
ReplyDeleteI hope your weekend went well Holly!
Such a nice collection! I Love these die cut table cards . The yellow, white and black color palette is giving a an elegant look to these invites. You are really very creative and talented. Thanks for sharing this lovely inspirational work.
ReplyDeleteChristina
Creative wedding wordings