The list of my obsessions continues to grow.
Now I am adding eggs and vintage labels to the list
Someone stop me!
I do not have time to obsess about anything else.
{I have to sleep sometime!}
But I have always wanted to blow out eggs and now I did..
and then I dyed them in coffee, and then I added vintage labels.
Pretty!
{pretend that one egg is right side up}
I have always wanted to blow out an egg {...is there a better term?} and decorate the shells...but I was a chicken {Ha, Ha!}. I figured I would break them...it would be messy...too much work. Well, a few weeks ago for my tablescape I tried it...and boy oh boy I was so very wrong. This was easy-peasy {and I am even a messy crafter}.
Part I...Blow Them Out
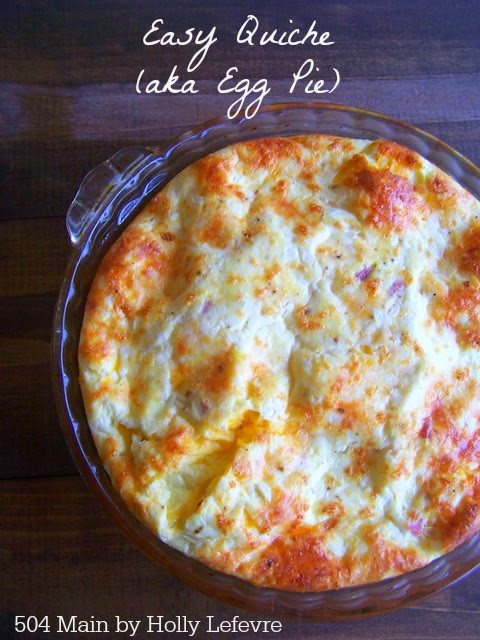
I am sure you can find more intricate details and instructions out there on the Internet...somewhere, but I am all about easy. Here are my steps...and since I am all about using what I got...I used a very clean nail {sterilized it} and blew my eggs out over a bowl...and made quiche for dinner.
Directions
-Poked a whole with a (clean) nail in each end of the egg.
-One side had a larger hole, the other a smaller
-Put a skewer in one end and sort of mashed up the yolk...then blow from the side with the smaller hole {over the sink or a bowl}.
-It was not hard to blow them at all...just make sure their are holes in each side and the holes are big enough - start small and make them bigger if necessary.
-I have also heard you can use those suctioners you get for little kiddos to suck their noses out. Or you can actually buy a egg blowing tool.
{see the holes on top...the bottom ones are slightly bigger}
Part II...To Dye For
I put two scoops of instant coffee in a large bowl and boiled about 4 cups of water. I made my coffee dye and then put my eggs in...since their is nothing in them, they float so you have to turn them...I tried putting a medium size bowl on top to weigh them down...it sort of worked. I kept mine in for a few hours.
{The plain coffee-dyed eggs}
Part III...Since I am Not a Chicken Anymore...Labeled Eggs
Well, I loved my pretty little caffeine infused beauties, but it was time for a makeover. Off to visit The Graphics Fairy for some tres {pretend there is an accent over the "e"} chic vintage labels. And the craft store because I just had to try Sparkle Mod Podge!
Supplies
-Blown and dyed {and dry!} eggs
-I also used skewers and a round Styrofoam form to hold them while I was painting them and they were drying
-Patience {I always have to remind myself of this}
-Ribbons, buttons, bead - optional for adornment {I didn't do this...but I want to!}
Directions
-Cut out labels
-Apply a layer of Mod Podge all over the egg {This makes the eggs more durable too}
-Let dry slightly
-Apply Mod Podge to back of label
-Affix label to egg, while smoothing paper down onto egg
-Coat with a lyer of Mod Podge, let dry for 20 minutes or so.
{I applied another layer of Mod Podge, specifically over the label area - don't tell, I use my finger so I could really smooth out the paper...did I mention I am a messy crafter?}
-Let dry
-I wanted a little sparkle...but not too much...so I used Mod Podge Sparkle
 {I am in L-O-V-E}...just a hint of glimmer and sparkle..perfection!

 CONTINUE READING


 {or your preference}


