Showing posts with label wood. Show all posts
Showing posts with label wood. Show all posts
Wednesday, April 27, 2016
Labels:
chalk paint,
craft,
decoart,
DIY,
farmhouse,
farmhouse style,
fixer upper,
home,
home decor,
home sign,
home sign with wreath,
original home sign,
paint,
projects,
rustic decor,
wood,
wood sign,
wreath,
wreath as O
Tuesday, February 2, 2016
I love wood signs. It's one of my favorite ways to decorate and express myself. I am always trying to come up with new ideas and new ways to incorporate all of my loves -textiles and fibers, wood, power tools, paint, etc. - into crafts and projects. This wood cross-stitch LOVE sign for Valentines Day (or any day), does just that and is so dang cute (if I do say so myself)!
Wednesday, November 11, 2015
I am really not obsessed with Christmas ornaments...well, maybe I am. A couple of weeks ago I made those A-dorable Rustic Wood Christmas Ornaments and now I seriously cannot stop thinking of ornament ideas...and what's better than incorporating photos of your kids, pets, family and close friends into homemade Christmas ornaments?!!!
Sunday, October 25, 2015
Labels:
age wood,
Christmas,
christmas ornament,
Christmas tree,
craft,
decorate the tree,
DIY,
handmade,
handmade ornament,
holidays,
projects,
sign,
wood,
wood plaque,
wood scrap,
wood sign
Wednesday, June 17, 2015
I spent many, many years planning fabulous weddings...and I gotta tell ya...I miss it (not the long hours...but everything else). Last year an amazing caterer I know asked me to make these rustic wood wedding signs for each of her couples. I love the idea and they are such an amazing wedding keepsake or unique part of the wedding decor.
Labels:
#wedding,
cider vinegar wood stain,
craft,
create,
decoart,
electronic craft cutter,
project,
rustic chic,
rustic wood,
silhouette cutting machine,
valentines day,
wedding,
wedding decor,
weddings,
wood
Monday, March 10, 2014
I have been experimenting with new and natural ways to stain or age wood.
First I tried Apple Cider Vinegar...and now Balsamic vinegar.
I an so LOVING the colors these different vinegars give the wood.
but for now I just want to share the technique.
Just like the apple cider stain...this one is so easy!
Just like the apple cider stain...this one is so easy!
Supplies
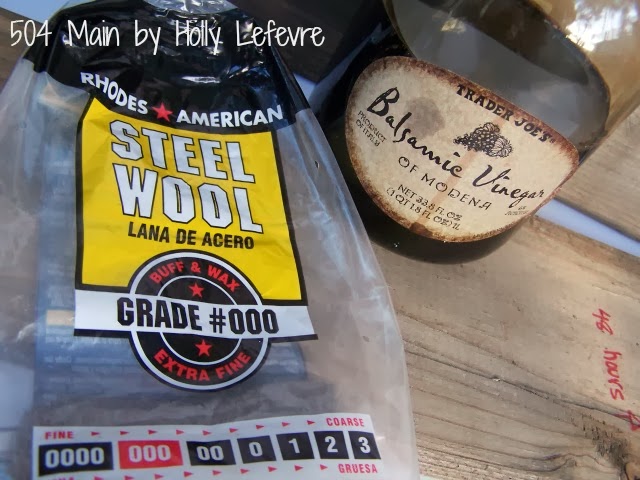
- (Real) Steel Wool (I used 0000 grade)
- 1 cup balsamic vinegar
- 1 cup water
- Jar
- Gloves
- Paint brush ( it does not have to be a good one)
NOTE: Different vinegars will produce different finishes and I did some research about aging with balsamic vinegar. Apparently it is supposed to give you a greenish color...but I would not color my color green at all!
DIY IT!
- In a 2 cup+ glass jar, I placed 1 steel wool pad and 1 cup of balsamic vinegar and 1 cup water. Because balsamic vinegar is more expensive and comes in smaller bottles, I mixed it with water to make it stretch further.
- Put the lid on the vinegar/steel wool mixture and let it sit...mine sat for about 1 week before I liked the intensity of the color. I tested it every 24 hours to see the color.
- I suggest trying the stain on a scrap piece (or similar) wood after 24 hours...if that is not the desired effect...48 hours...and so on
- EDIT: The less you let the mixture sit the lighter the stain. If you are looking for a particular color, I suggest testing the mixture every 24 hours until you see the color you desire.
- When my concoction was ready (to my liking), I gave it a quick stir.
- Some suggest straining out the steel wool. I did NOT...there was not much left - bits and pieces...but I really did not care they were in there.
- If necessary, transfer smaller amounts of the stain to a smaller glass jar to work with- it is easier to handle that way.
- Be warned...the smell is pretty intense...it is vinegar! I just did this all outside. The mixture smells, but I do NOT notice a lingering scent on my project.
- NOTE: Now, protect your work surface - it may stain concrete or whatever is comes into contact with.
- Wear gloves - seriously - WEAR GLOVES. My hand are even more aged right now!
- Use the paint brush and brush on the vinegar all over.
- Let dry.
- Rinse the wood to remove any residue from the steel wool. It may lighten the stain a it. You can always reapply another coat to darken it up.
- Below you can see the difference between what the stain looks like when wet and then when dry.
Just to refresh your memory and show you the difference between staining with Apple Cider Vinegar and Balsamic Vinegar...here is a quick comparison photo:
It is pretty simple...gives great color...
and I cannot wait to show you the projects I have done!
Tuesday, February 11, 2014
I always joke that I married my husband because I would not have to change my initials.
I very much liked that big ole "L" that was the beginning of my last name.
I have always (long before the monogram trend began) loved using my initials to personalize my decor. That is why I love this Monogrammed Burlap Canvas project that is part of the Michaels and Hometalk Pinterest Party.
Visit Hometalk and search the hashtag #MPinterestParty to see a ton of great projects!
Visit Hometalk and search the hashtag #MPinterestParty to see a ton of great projects!
Monday, January 20, 2014
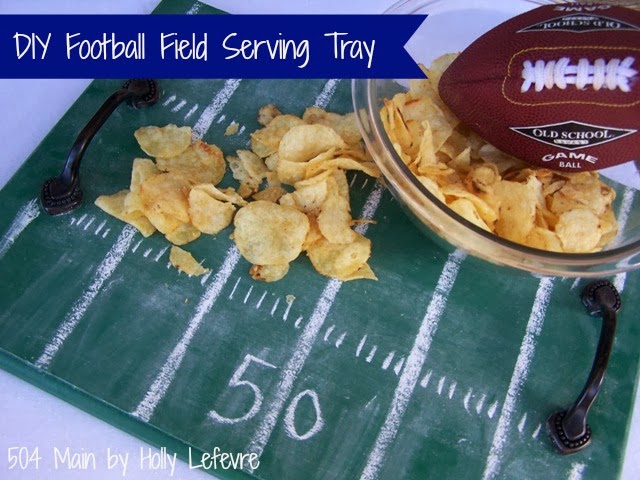
My husband loves his football, and this year I was given the opportunity from coupons.com to create a DIY tabletop perfect for that "Big Game" coming up. I am sure he would be happy with a couple bowls of chips...but {gasp!} what do that when you can easily create a fun football themed tabletop complete with a
DIY Football Field Tray!
(keep on going..there is a tutorial for the tray PLUS an AWESOME giveaway for you!)
DIY Football Field Tray!
(keep on going..there is a tutorial for the tray PLUS an AWESOME giveaway for you!)
Tuesday, November 12, 2013
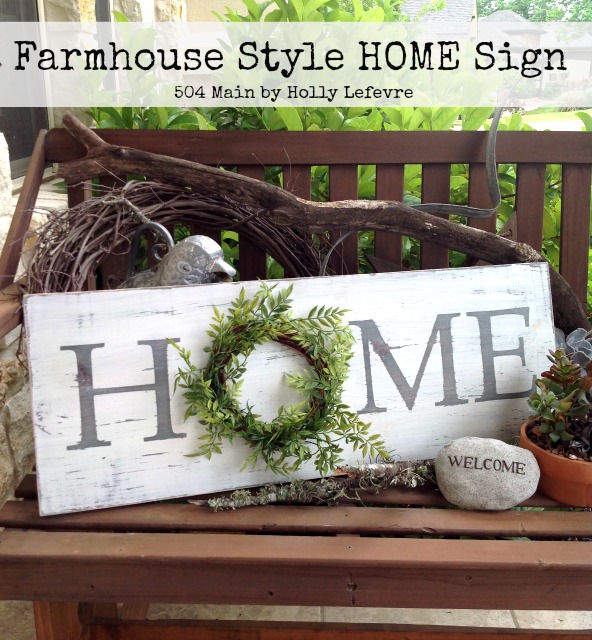
I have become the wood sign lady in town.
But I cannot be content with just plain old signs!
I suppose it is my fashion background - changing styles every season
I have to find new ways to make the signs unique.
So I am using a combination of paint and stains these days.
My favorite and CHEAP wood stain is vinegar!
Sunday, June 30, 2013
I LOVE the 4th of July! I love fireworks in the sky...or in a jar, sine we don't have them in the sky anymore! Red, white, and blue...and stars and stripes everywhere. And celebrating with family and friends. Usually we attend a chili cook-off but this year it was cancelled, so I am preparing to host a small gathering at my house...and I have to get my act together...QUICK!
Tuesday, June 4, 2013
I recently found out I am moving...
so I have been CRAZY cleaning, tossing, sorting, and fixing...
everything that we have not fixed in the last eight years
Please tell me I am not the only one who does this!
 |
| Image credit: iloveotto / 123RF Stock Photo |
I also have the uncanny ability to buy houses with really big master bathrooms...
but they are usually DUDS!
We spruced this one up a bit for the sale...
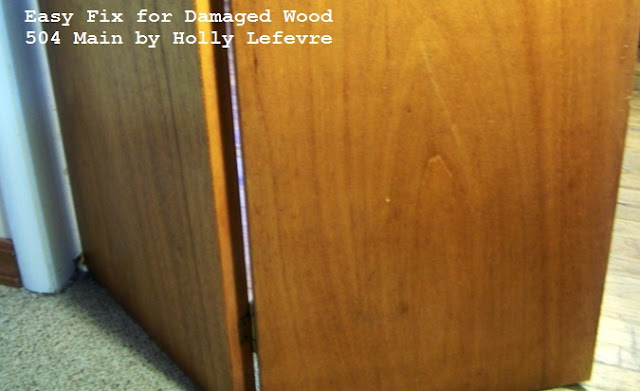
but we have never done anything about this door.
(Oh
yeah...here is a "warning"...
from here on down these pictures are not
pretty...I tried.)
OK, first let's be honest...my door is ugly.
It is never going to be pretty...but it can be prettier.
I did this 10+ years ago in my other house.
The vanity was ginormous and had water damage from the moisture in the bathroom. Streaky, icky water damage.
I cannot remember where I learned this trick...
but it works...and it simple and cheap!
This works on doors, cabinets, and furniture (at least it has for me)
What You Need:
1-2 Rags (old T-shirt, etc.)
Petroleum Jelly
What You Do:
TEST THIS IS A SMALL AREA TO BE SURE IT WILL NOT DAMAGE YOUR WOOD!
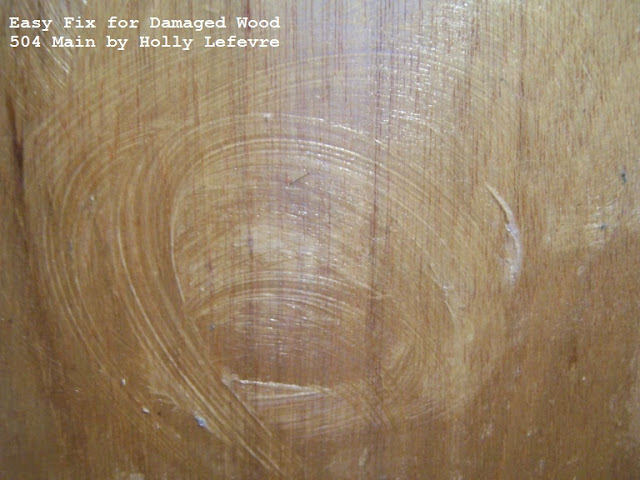 Clean the door/surface if necessary.
- Use the rag and dip it is the petroleum jelly and rub the jelly into the wood where the damage is.
- I apply mine pretty liberally (if you have animals...barricade them from the area or you will have jellied animals and hairy doors).
- Let it stand for an hour or so. It pretty much works right away...but leaving it for a bit does not hurt.
- Wipe excess of with another rag.
- Some petroleum jelly residue will remain.
- You can come back later and wipe it again to get all of the petroleum jelly off.
That is it! Damage gone!
Door (even if it is ugly like mine) looks better!
Bye...Bye...Ugly Wood!
Tuesday, May 15, 2012
OK, no joke, this sign has taken me 5+ months to complete.
You ever have those projects that look perfect in your mind...
but you start them and they are not turning out so perfect in reality...
well, this was one of those.
Finally I think I got it!
It looks NOTHING like the original vision...
N-O-T-H-I-N-G,
but I like it nonetheless.
This sign is for my parents...paying a little
a little homage to their love of the outdoors, the beach
and my Dad's ever popular "It's seventy and sunny" greeting.
It was supposed to be a Christmas present...
so I am either really early or really late.
- 1/4 “ plywood, cut to 24” L x 16” H 1/2” plywood (you need a 24”L x 16”H piece to cut the sun
- NOTE: You can use all 1/4” or all 1/2” plywood to make the sun and base. I used the 1/4” for the sign to make the sign a little lighter. And I liked how much the 1/2” plywood stood out from the base.
- Gorilla Glue Wood Glue
- Jigsaw (DeWalt from Rockler)
- Decoupage, DecoArt
- Americana Acrylic Paints, DecoArt in Bright Yellow, Canyon Orange and Jack-O-Lantern
- Canvas Corp paper, Beach Sampler on Ivory, Blue and Ivory Chevron, and Blue and Ivory Beach Words Reverse
- Foam brush, Rockler
- Paint brush (I used my old Purdy brush designated especially for crafts - by me!)
- 2 – 3” DISChangers
- Stencils Elmer’s Painters Marker, Black
- Dremel Multi-purpose tool
- Distress Ink
Here is a sneak peek...
you can catch the full tutorial over at The DIY Club
Now, just...
Draw it
Cut it
Grab some paper
Paint it!
Decoupage it
Glue it!
Embellish it!
Sand it and mark it up!
Hang it!
See ya at the beach!
Subscribe to:
Posts (Atom)

