


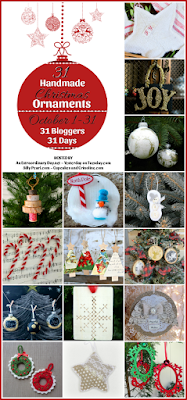
Today I am sharing my Rustic Wood Christmas {Ornaments} Signs for the 31 Days of Handmade Christmas Ornaments. You can write your favorite Christmas words n the ornaments...or your kids names...your pets names (I kind of lucked out because my dog's name is JOY)...or the year!

Throughout the month of October some pretty clever and creative bloggers have been sharing their creations. Now that should be a huge inspiration for getting a jump on your Christmas crafting! (be sure to see the full list of bloggers at the end of this post and a linky to show off everyone's creations!)

Now let's make some fabulous ornaments!

Supplies
- 6" x 2 1/2" wood rectangles. I used scraps of a 1" x 6" that were leftover from a project (cut into 2 1/2 length...so my wood was FREE!!
- OPTION: Purchase pre-made wood plaques at the craft store (no cutting required) - I cannot remember the price, I think they were $1.00 each and come in different shapes.


- Wood stain.
- I use DIY Apple Cider Vinegar stain or Minwax in Jacobean (or any preferred stain color).
- Wire (jewelry section or hardware store).
- This wire is from the hardware store and is a bit thicker and more of a rustic color. You can get 12 gauge wire in the jewelry section of a craft store and use that too.
- White Paint Pen (or color of choice).
- Stencil (or freehand it).
- I used generic letter stencils I bought at the office supply store. There are many stencils at the craft store.

- Sandpaper/sandblock - I used my Dremel because I want really worn down edges
- Drill (for wire/ribbon holes)
- Wire cutters (or scissors, if you use ribbon)
- Saw (if you are cutting your own)
- (Optional) Spray sealer or wax/cloth. I finished my ornaments off with a light coat of Americana Creme Wax.
- You can use ribbon instead of wire.
- If you have paint on hand, paint it instead of stain.
- No drill, make small signs for your mantel or a shelf.
- No stencils...freehand it!

Make It!
If you are purchasing pre-made wood plaques from a craft store skip the first step.
1. Cut wood pieces - or use the scraps you have in the size they are. I kept my width the same as the board (about 6"). Each sign is 2 1/2" tall.
2. Drill small holes 1/2"in and 1/2" up on the top edge of the wood block.
3. Lightly sand the edges and drill hole area.
4. Stain or paint the wood blocks, wipe with a cloth. Let dry.

5. Prime your paint pen.
6. Figure your placement of your word on the wood. For example, with "JOY" the O would be centered on the board. For "WISH" the center is between the I and S.
- TIP if you need to help keeping your words straight, use some masking tape or painters tape to mark the bottom of the letters.

8. When completely dry, sand (again) all over for a distressed look.
9. OPTIONAL: Wax or spray a clear coat on the signs. I used American Creme Wax with a cloth. Wipe clean.
10. Cut 18" length of wire (or ribbon).

- From the back, push the wire through to the front. Lave about 2-3" on the front.
- Bring the shorter piece and the linger piece up and together (on the top center of the board).
- Wrap/Twist the shorter piece around the longer piece. You may need to snip off some excess wire.
- Repeat the process on the other side


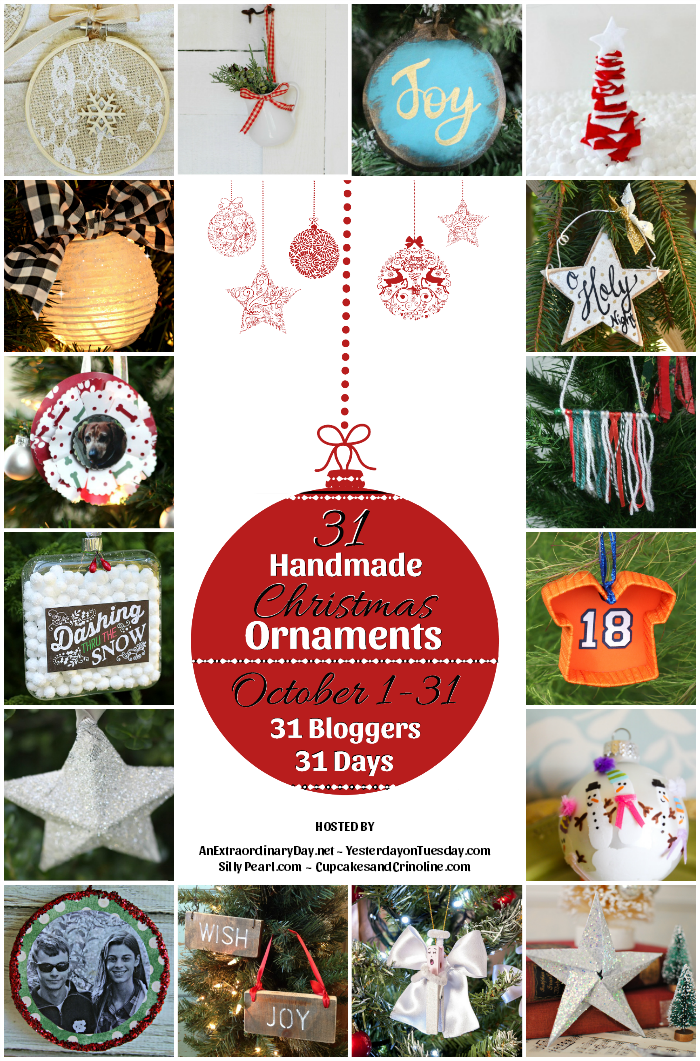
Here are all 31 Bloggers in order of their appearance over the 31 Days.
Be sure to visit the Pinterest Board for daily inspiration too!
Be sure to visit the Pinterest Board for daily inspiration too!
Yesterday on Tuesday
The Silly Pearl
Cupcakes and Crinoline
Celebrating Everyday Life
AnExtraordinaryDay
All Things Heart and Home
Petticoat Junktion
Sew a Fine Seam
Creative Crochet Workshop
Shabby Art Boutique
Morena's Corner
From My Front Porch To Yours
Pet Scribbles
Sweet Pea
Dukes and Duchesses
Simply Kelly Designs
Town and Country Living
One Artsy Mama
The Crafting Nook
Our Southern Home
StoneGable
Love of Home
Lovely Etc.
Remodelando la Casa
504 Main
Knick of Time
Refresh Restyle
The Cottage Market
My Uncommon Slice of Suburbia
Heathered Nest
Sum of their Stories
Aren't those some amazing ornaments and inspiration?!
So are you going to make some ornaments????


Oh I love this idea! Thanks for sharing!
ReplyDeleteNow I know what to do with my big pile of wood scrap. These are adorable!
ReplyDeleteLove this idea! They look great on your tree and I like your idea of using them as gift tags.
ReplyDeleteThese are so sweet! I'm going to ask my hubby to get me some wood pieces cut - we have a ton of scraps! I'd cut them myself but he doesn't like to share his table saw - and i'm a bit scared of it anyway!
ReplyDeleteHolly I think I may be obsessed with these! Love the wood and the stencil is perfect! Totally going to make some for Xmas gifts. Thanks for the idea. Hope all is well in TX!!!
ReplyDeleteThese are absolutely gorgeous!
ReplyDeleteWhat a great super versatile idea, any stain or paint, any colour and style of lettering. The options are almost endless. I love anything personalised, and often make families a hamper rather than individual gifts, these would make a lovely addition.
ReplyDeleteI adore these! So many ways to use them, from ornaments to gift tags, to basket tie-ons! Pinned & shared!
ReplyDeleteThese are wonderful - I love the rustic touch of the stained wood!
ReplyDeleteLove these! Such a great idea and I have plenty of scrap wood ;)
ReplyDeleteDebbie