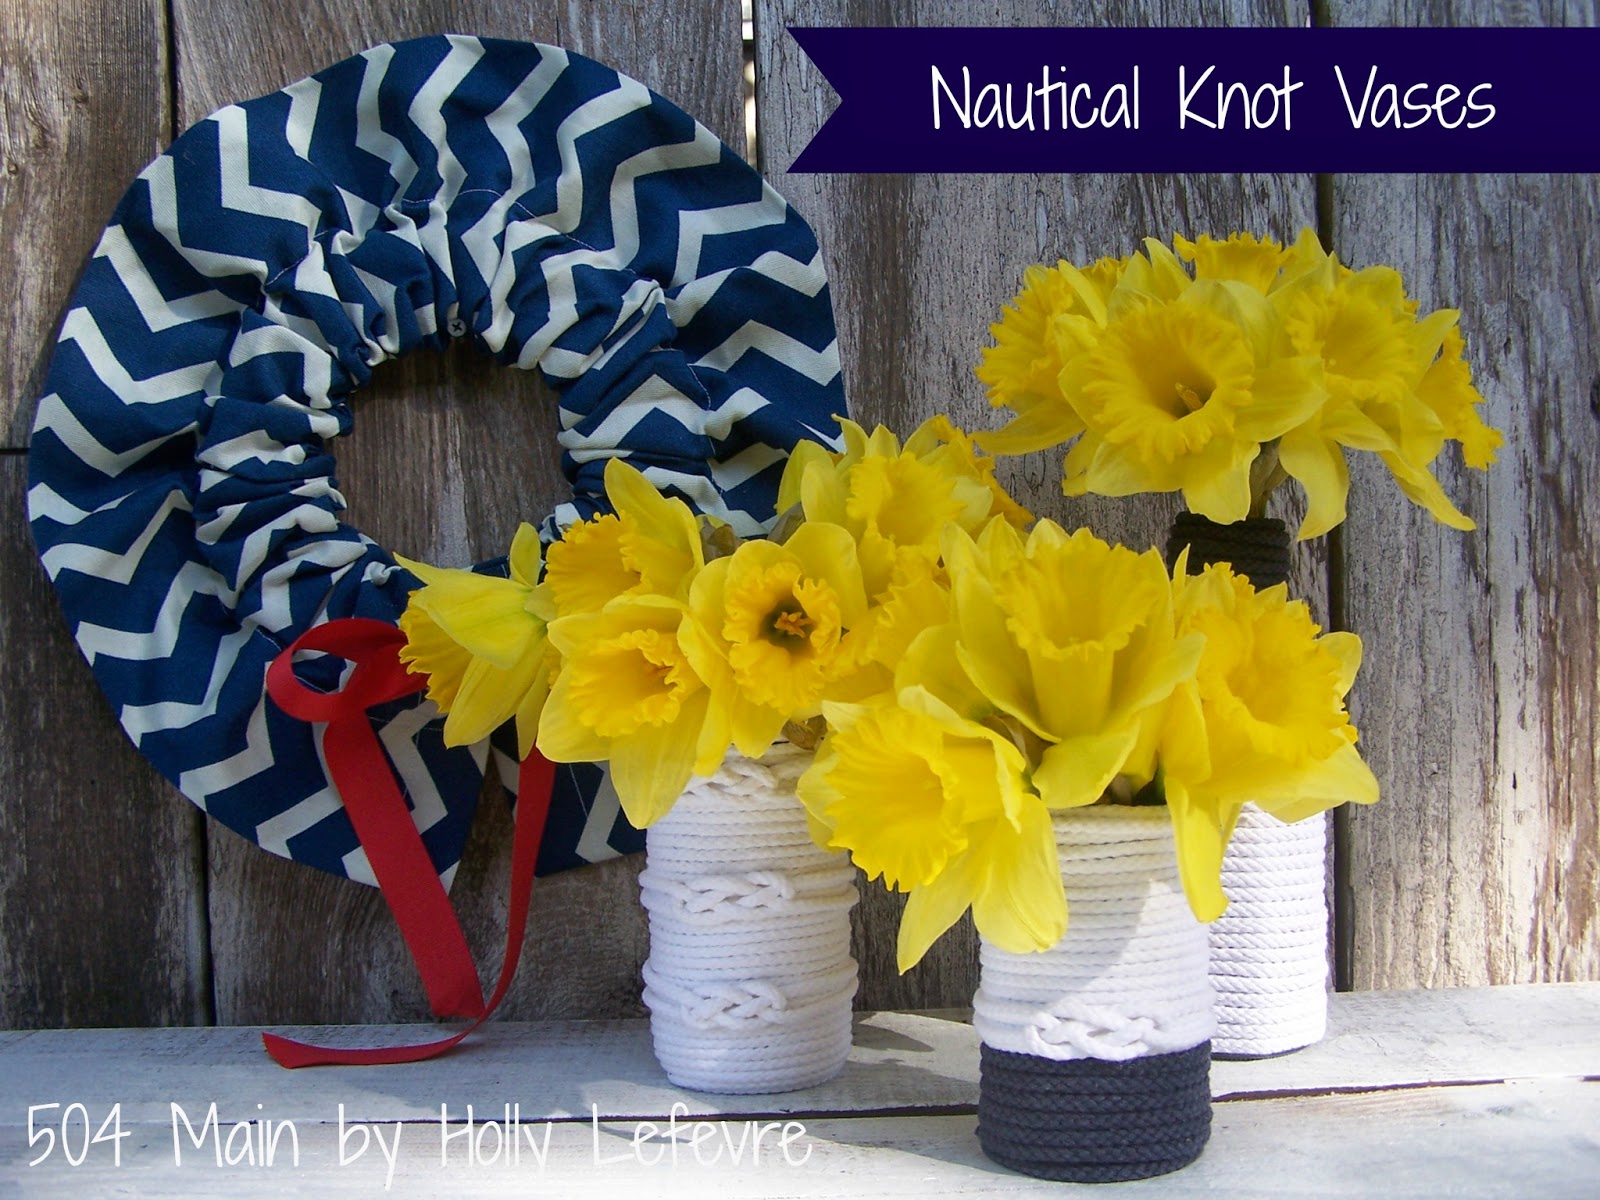
Nautical has always been on of my favorite trends.
If I was brave I would break our the fabulous vintage shots of me in my nautical attire...but I am not that brave...so instead I will show you my more modern and on-trend take on Nautical, one of the hottest looks for the season! Jo-Ann Fabric and Craft Store makes spring crafting easy during National Craft Month with a $5 off $25 or more purchase coupon and a spring crafting inspiration website.
If I was brave I would break our the fabulous vintage shots of me in my nautical attire...but I am not that brave...so instead I will show you my more modern and on-trend take on Nautical, one of the hottest looks for the season! Jo-Ann Fabric and Craft Store makes spring crafting easy during National Craft Month with a $5 off $25 or more purchase coupon and a spring crafting inspiration website.
What do you think of when you think Nautical?
I think navy, white, rope, stars, bright gold accents, and knots. Well, in honor of National Craft Month, I headed to Jo-Ann Fabric and Craft store to grab some supplies to create a nautical vignette. And, let me tell you...this look make me so ready for bright sunny days and ocean breezes.
Supplies
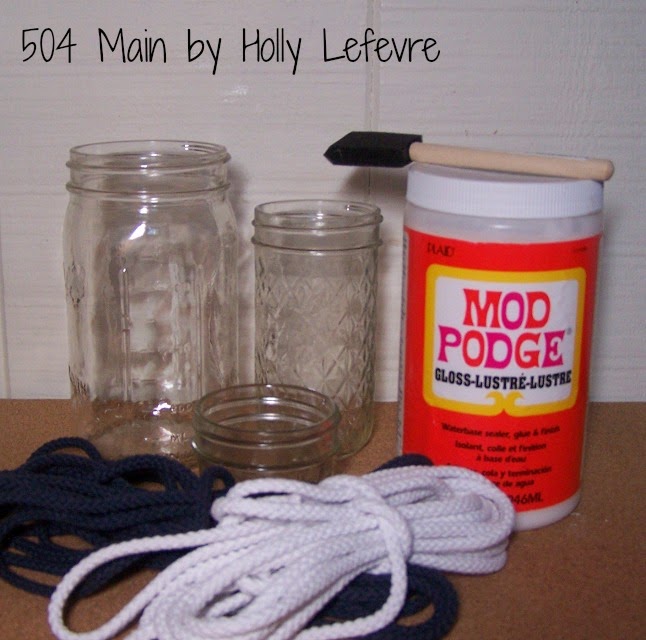
- Decoupage Medium (you might notice my Mod Podge says Gloss...but this is what I had on hand)
- Foam brush
- 7 yards +/-, 100% cotton White drawcord* and or 7 yards +/-, 100% cotton Navy Drawcord*
- *Note: I used almost 6 yards of white to cover the large jars. If you are mixing the navy and white you need less of each color. You need the additional drawcord for the knots.
- Additionally, you can used piping or cording that is a poly/cotton combo, found in the upholstery section, but I prefer a 100% cotton cord, and purchased mine from the sewing/trim section.
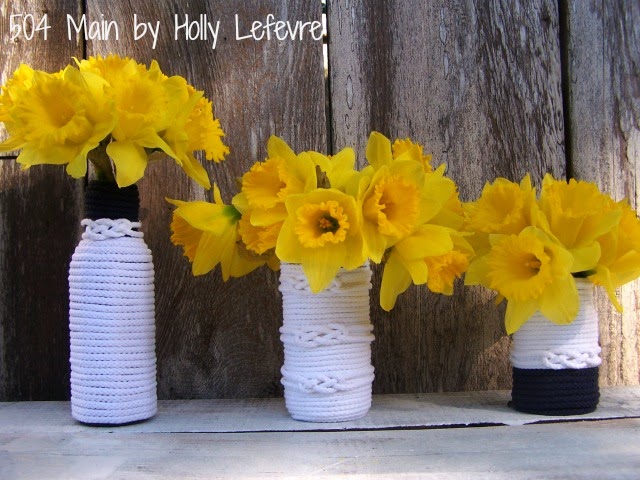
- Glass jars. I used a combination of mason jars, jelly jars, salsa jars, and even a salad dressing bottle.
Make It
- Remove labels (if any) from the bottles. Wash and dry completely.
- Cover your work surface to protect it.
- Begin wrapping your cord aroudn the jar, beginning from the bottom.
- I applied Mod Podge all over the bottom portion (but not on the bottom) of the jar.

- Holding the end of the drawcord, begin wrapping it around the jar/bottle, pushing the cording together as you wrap, so prevent gaps in the cord.
- Add Mod Podge to the jar as you wrap. It makes it easier to apply the Mod Podge in sections as you go than to Mod Podge the whole jar first. (my opinion)
- I began my jars flipped over (opening down) and then after a few wrap, flipped the jar back to its regular position (opening up). You just need to do what feels right for you. Some jars were easier to hold and twirl.

- Continue wrapping until you reach the top. I tried to end my wrapping on the same side of the jar as I began it, just in case you has an issue with seeing the ends of the cord.
- If you are doing multiple colors, cut off the cord when you have reached the height you desire (I also tried to end the wrapping on the same side I started for this too). Then begin the next color and wrap it until the top.
NOTE: You can use clothespins or rubber bands to hold your drawcord into position as the Mod Podge dries. I personally did not need to. I just held the end in place for a 30 seconds or so and then let them dry.
I thought about adorning my bottle with small embroidered stars, but I changed my mind...because nautical knots were calling to me!
Here is how to make a Carrick Bend Knot
(you can search n the Internet for different knots too)
- To make the knots, cut 2 16" pieces (you may need less length, but this is safe so you do not run out)
- Place one cord on the table, make a loop with the "top" tail under the lower tail.
- Take the second piece, lay it under the loop of the first strand; over the tail of the upper tail; under the lower tail.
- Then using the second strand, go over the lower loop and then back under the bottom strand (the same piece of rope)
- Hold the bottom left and top right tails, with your fingers as you pull the top left and bottom right tails. Do not pull all the way...just enough here and there to get the size you want.
- Make as many of these knots as you need.
- Then just place them on the jars/bottles; wrap around and tie off in the back. NOTE: I tied mine so I could remove them if I want...but you can also glue them to make them permanent.
Jo-Ann makes spring crafting easy during National Craft Month with a $5 off $25 or more purchase coupon and a spring crafting inspiration website.


Love your vases, Holly! I also love your wreath too!
ReplyDeleteYou make it all look so easy Holly. Knot tying is quite an art in-itself. The pics sure are helpful though.
ReplyDeleteLove the nautical look. Makes me think of summer and vacations in North Carolina! Have a lovely day.
ReplyDeleteHolly,
ReplyDeleteThanks for the tutorial on how to make these darling vases. I just save several jars which I would say is perfect timing.
Plus I already have the rope and +Mod Podge too.
Hi Holly, just stopping by to say how delightful your blog is. Thanks so much for sharing. I have recently found your blog and am now following you, and will visit often. I have been having trouble with GFC and if I am already following you, and you following me, please forgive me. If not, please stop by my blog and perhaps you would like to follow me also. Have a wonderful day. Hugs, Chris
ReplyDeletehttp://chelencarter-retiredandlovingit.blogspot.ca/