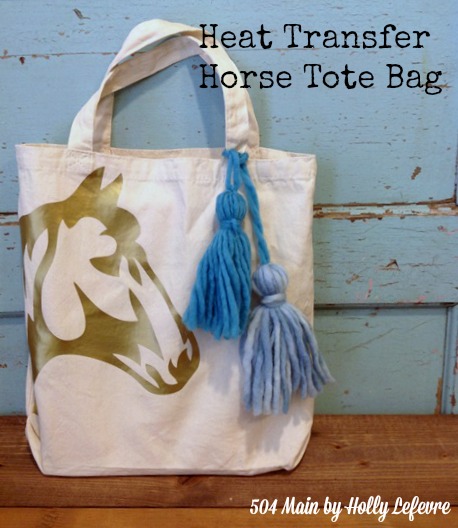
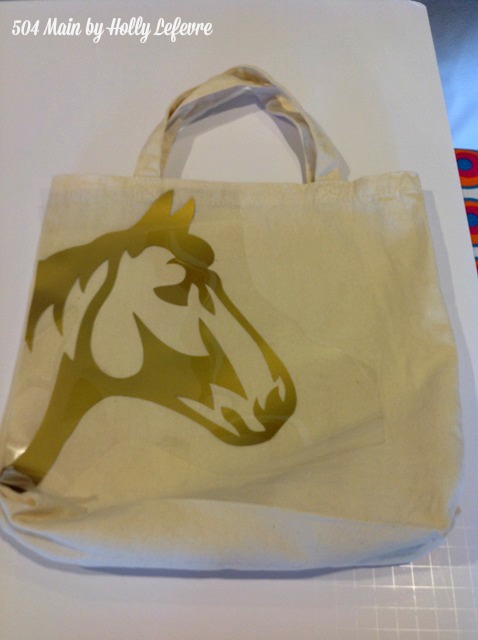
What to put on this tote bag?! Well, my daughter has been obsessed with horses since she had the opportunity to go to horse camp twice this summer, so naturally a horse! I had a vision to mix rustic and horses and a touch of glamour. This was a fun and quick project, and even though I used my Silhouette machine...you do not need a craft cutter to use the Heat Transfer (I did a FUN project with heat transfer a couple years ago when I did not have a machine and it turned out great!)
Supplies
- Tote bag. Washed and dried.* I purchased mine at Michaels (They come in a three pack for about $9.99). I envisioned a larger bag, but this was proportioned better.
- *Optional - I wanted a more rustic look, so I dyed mine in a vat of coffee - two pot fulls of coffee and let it soak. It did change the color a bit...but I should have left it in longer for more color.
- Silhouette Cameo (helpful, but not necessary for using heat transfer, see this post.
- You can print out an image from the internet, transfer it to the heat transfer and cut it with scissors. That is what I did here:
- Horse Face Image from Silhouette Design Store OR
- I searched "free horse head silhouette clip art" on yahoo and got a ton of great images that will work for this project.
- Silhouette Heat Transfer in gold.
- Scissors
- Iron, ironing board, cloth for pressing
- Optional: DIY Yarn Tassels
Make It!
- Prepare your tote bag.
- Wash and dry it.
- Optional: Coffee dye it if you like - I did for a slightly more rustic color. Prepare two pots of coffee and pour into a container; wet tote bag; submerge into coffee; let sit for desired time (some color will wash out); squeeze to remove excess coffee; proceed with wash and drying.
- Pull your design into Silhouette Studio.
- Adjust for size.
- Position: I also wanted part of the design to disappear off the edge, so that it will line up perfectly with the side seam of the bag . It was "hanging" off the dge of the design area - I erased that portion of the design.
- When happy with the size, MIRROR image the design. You are cutting on the back of the heat transfer, so for the design to appear correctly (especially if their is writing), you must MIRROR.
- Apply a 12 x 12 section of gold heat transfer (with the glossy plastic side face down) to the Silhouette cutting mat.
- Send to the Silhouette to cut.
- Trim the heat transfer close to the design. It makes it much easier to remove the negative space from the heat transfer (less sticky material to deal with)
- Remove the negative space, leaving the design on the clear plastic.
- Heat the iron to the recommended settings and get a clean cloth out for pressing.
- Position your design on the tote bag (NOW, glossy side up)
- When your iron is ready, place the pressing cloth on top of the design.
- Press for 45-60 seconds. If your design is large, you will need to move the iron to press every part of the design for 45-60 seconds.
- Carefully remove the plastic...if you notice the heat transfer sticks, press again.
- Once ready, remove plastic.
- I embellished with my favorite blue yarn bu making more DIY Yarn Tassels.
Love tote bags like I do? Here is another project using Silhouette Heat Transfer. Love me some Route 66!
And here is a sample of what you can make WITHOUT A SILHOUETTE. I cut the design by hand!
I just love the combination of colors and style in this tote bag...off to make more!


Adorable bag, Holly! I agree... you can never have too many tote bags! I'd love for you to share this at my Creative Ways Link Party that goes live at 8pm tonight!. Hope to see you and your Horse Tote Bag there!
ReplyDeleteBlessings,
Nici
Tote bags are the best and this horse tote is adorable!
ReplyDeleteSuper pretty! looks amazing :)
ReplyDelete