A few weeks ago, I was visiting my parents in Southern California,
and jumped at the opportunity to go shopping at the Jo-Ann Fabric and Craft Store
by their house for the supplies for this project.
My head was spinning...I had so many ideas.
I saw burlap...
I saw yarn...
I saw gorgeous papers...
I saw ribbon...
I saw, well everything!
I had a vision (sort of)...and now I had the supplies.
It all eventually came together with a
I had a vision (sort of)...and now I had the supplies.
It all eventually came together with a
Burlap Table Runner
for a Turkey Tablescape. (#turkeytablescape)
At my house, the kids are in charge of decorating the Thanksgiving table.
It is hard to not be more hands on, but somehow I manage to let them do their thing,
and love seeing how proud they are of their creations.
I do, however, get to decorate a table...just not mine!
A friend asked if I could help "fancy up" their Thanksgiving table,
and so I set out to come up with something unique, but also earthy and rustic with this
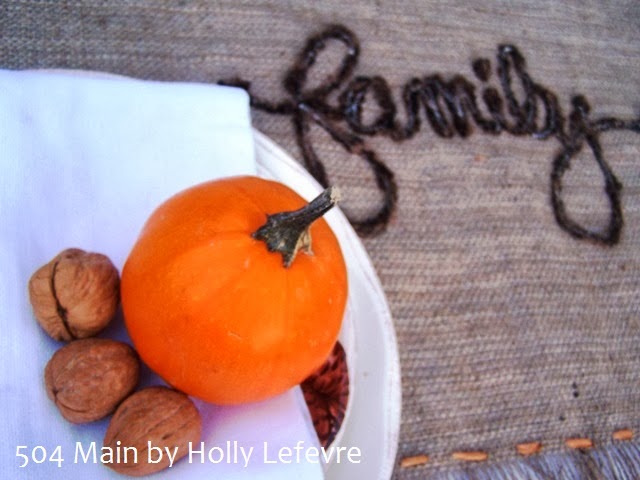
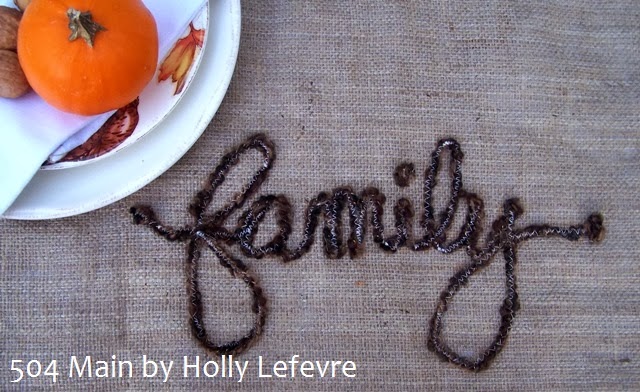
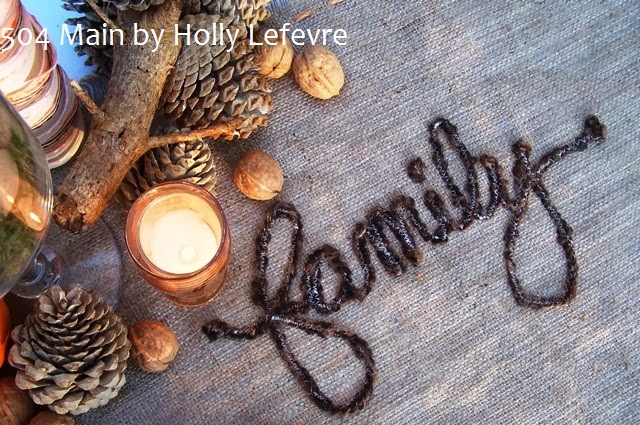
{Family} Burlap Table Runner.
The runner is
pretty simple...and so is the technique I used to embellish it...the
possibilities are endless with this technique (just wait until you see
my next projects!).
As I mentioned I purchased my supplies at Jo-Ann Fabric and Craft Stores. Be sure to check out the Jo-Ann Craft Catalog for fabulous holiday ideas to DIY, great gifts...and coupons (and be sure to visit the bottom of this post for a GREAT coupon!).
Jo-Ann Celebrate The Season is also an amazing source of holiday inspiration!
Now let's make a
Supplies (purchased at Jo-Ann Fabric and Craft Store!)
- 3 yard of burlap (NOTE: yardage can very depending on the length of your finished runner)
- Fabric Glue (I used Aleene's Fabric Fusion and I have also tried Liquid Stitch)
- Chunky Yarn like Lion Brand Homespun Thick and Quick in Barley
- Carbon Paper or Pattern Transfer Paper (Dritz Single Face Tracing Paper)
- Straight Pins
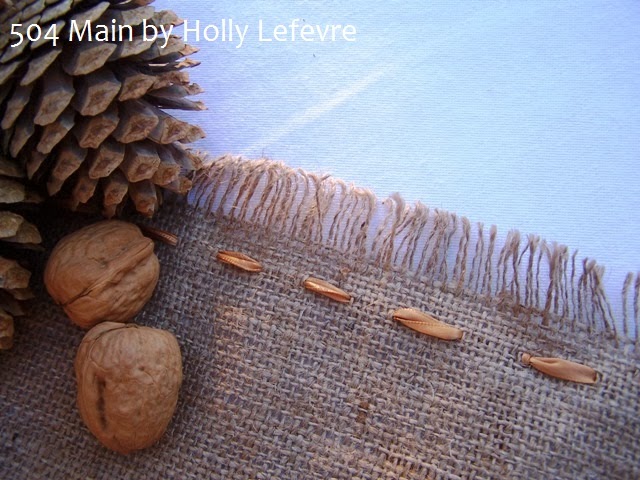
- 3/8" Single Faced Satin Ribbon (Offray, oatmeal) (I used the entire roll - 18 feet - to sew around my runner)
- Needle (I used yarn darners - for the large eye)
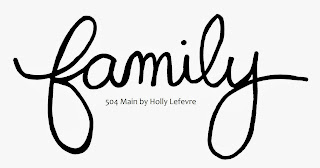
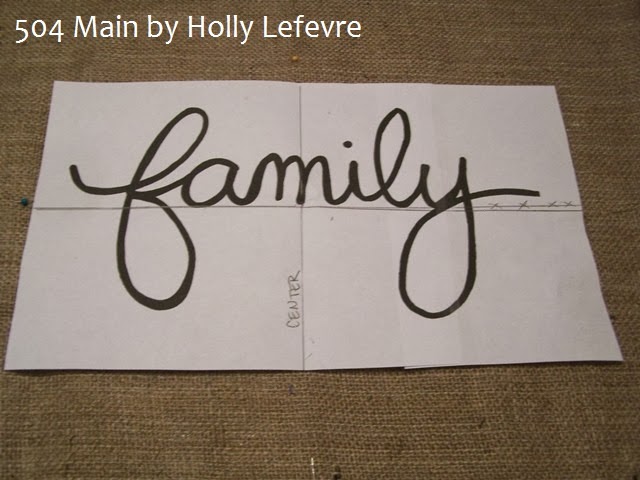
- The "word" you want to transfer. I used FAMILY. Here is the printable (my handwriting). You just size it as needed to fit your needs.
- NOTE: You can use any font you desire...but the more fluid and not-too-fussy fonts work the best.
- TO SEW with Machine: Ivory thread (or your choice of color) and a zigzag stitch
- TO SEW by hand: Embroidery floss and needle in desired color and the knowledge of a chain or running stitch.
PART I: Make A No Sew Runner
Final length for MY 6" table is 92" L x 24" W
- You can purchase a ready made runner or create a runner (my personal favorite)
- To determine the yardage, measure the length of your table and then add 8-10 inches for overhang on BOTH sides.
- I gave mine a 10" overhang on either side. (for example, the table length is 72" + 10 + 10 = 92" or about 2.5 yards)
- Determine your width (you can actually get 2 runners from your length of burlap yardage, by cutting down the center, yields 2- 24" runners).
BE SURE TO READ THIS BURLAP CUTTING TIP!
(I was introduced to this by Meegan Makes)
Before you cut, determine where you want to make the cut (mark it with a contrasting color if you need too); grab the thread/fiber of the burlap at that point, and pull...you may have to smooth your "ruffle" out as you pull. Essentially, you leave a void in the space where that thread was and can easily cut a straight line. Ta-Da!
MAKE THE RUNNER
Step 1 - Cut the burlap to your desired length (seriously use the tip above - it makes it so easy). Mine is 92"
Step 2 - Cut the burlap to the width you desire - Be sure to account for any fringe like I have. For example, I want my runner to be 22 wide with 1" of fringe all around (24" TOTAL). Pull out your thread to make the full cut.
Step 3 (Optional) - Once the runner is cut out, then measure up 1" (or desired length) and CAREFULLY remove those threads (I removed about 8). Start by pulling a few at a time. The burlap will still fray so go slow and be cautious.
Step 4 - Thread the ribbon onto your needle and knot at the end. Began at one corner, and run a stitch about 1/2" up from the solid (not the frayed) edge. My stitch is not perfect...and it is not supposed to be...just sew!
PART II: EMBELLISH/"EMBROIDER"
STEP 1 - Print out the WORD. Here is the link to "Family" word I used
Step 2- Find the center of your runner. I folded the runner in half lengthwise (matching the ends) and marked the center with straight pins. Then I folded it in half width and did the same.
Step 3 - Find the center of your WORD - I folded mine in half matching up the F and Y. I also marked a straight line where the words rest evenly to match to my lengthwise center line.
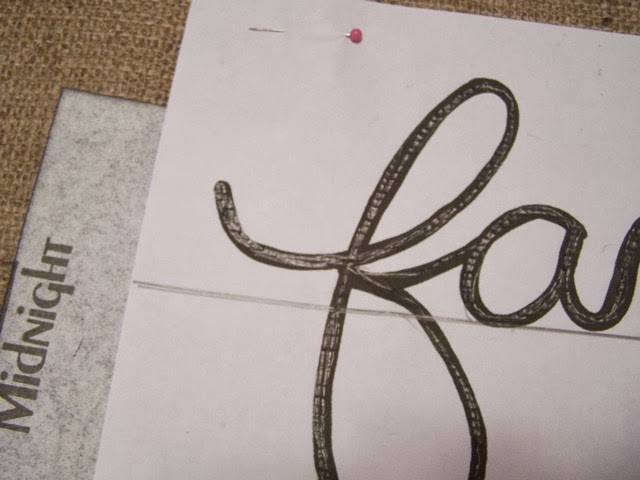
Step 4 - Match the WORD center points to the center point you marked on the runner. PIN the paper into place on all four corners.
Step 5 - Insert carbon paper, carbon side down, under the paper (sandwiched between the runner and paper).
Step 6 - Before transferring the image or gluing, protect your work surface. I worked on a mat and I place waxed paper under my "embellishment" area.
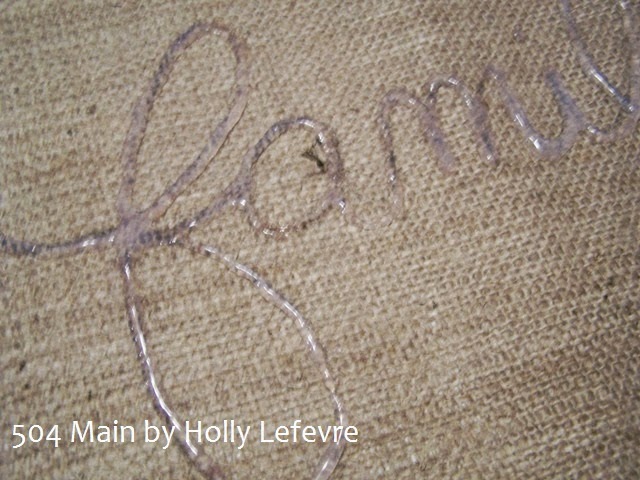
Step 7 - Using a pencil trace the WORD onto the runner. Due to the rough nature of the fabric, I went over my word numerous time to get a good line on the burlap.
This is the carbon paper transfer on the burlap.
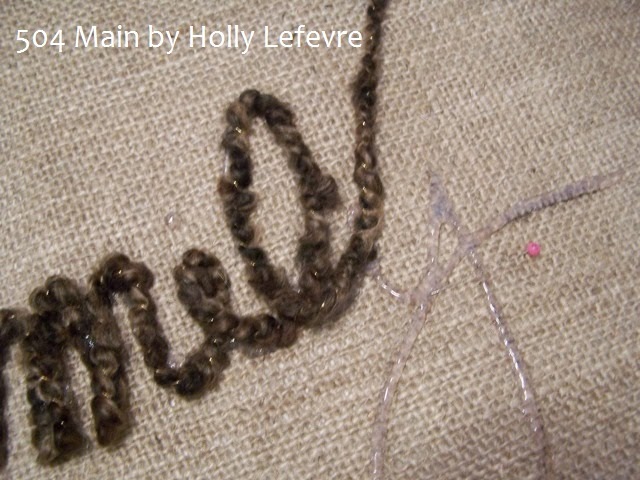
Step 8 - Use the Fabric Fusion and trace the letters with the Fabric Fusion.
Step 9 - Cut a length of yarn a few yards long. Tie one end with a few knots.
Step 10 - Place the knot at the beginning of the F (flair), then carefully follow your traced/glue lines with the yarn, slightly pressing down to get it to adhere. At tine you may have to double over an area (like you are writing...but that is OK). When you get to the end of the Y, tie more knots again.
Step 11 - Lightly press the yarn into the burlap by tapping your palms down.
Step 12- Let dry - mine took overnight.
Step 13 - ON THE SEWING MACHINE: I chose to use a zig zag stitch. Start on one end, and using a zigzag stitch follow the lines of the yarn. MY ZIG ZAG STITCH IS NOT PERFECT AND THAT IS OK AND ON PURPOSE...IT'S A STYLE THING!
As you go along the
yarn, you may need to stop, pick up the presser foot and turn/manipulate
the runner to sew. I did my zigzag right on top of the yarn. My machine
had no trouble going through the yarn (with the glue under it). If you
have to stop - stop and start again...the irregularity in the stitches
make it look even better.
OPTIONAL: NO SEWING Machine...Grab you embroidery floss, using all the strand and thread a needle. Do either a running stitch or a chain stitch and stitch down the "center" of the yarn word.
So...are you ready for Thanksgiving?
Are you inspired to whip up an amazing runner for the big day?
There is still time!
There is still time!
This took me less than one hour (not including the drying time for the Fabric Fusion).
You can grab all of the necessary supplies at Jo-Ann Fabric and Craft Stores!...
and there's a coupon (at the bottom of the post) to get you started!
For more amazing holiday project
ideas make sure you visit
the JoAnn Craft Catalog and Celebrate the Season
the JoAnn Craft Catalog and Celebrate the Season
Enjoy the time with your family and friends this holiday season!












Very cute Holly. I like this technique. Now I have projects jumping around in my mind!
ReplyDeleteHolly I LOVE this so so so much!!! Beautiful!
ReplyDeleteBeautiful! I love the rustic elegance of this piece!
ReplyDeleteLove it Holly!
ReplyDelete